Ultimate Installation Guide: What to Expect During Your PolyCel Shutter Project
Thinking about PolyCel shutters for your Tri-State area home but wondering what the installation process actually involves? As the owner of American Blinds Company and a former law enforcement officer, I believe in complete transparency about what you can expect from start to finish.
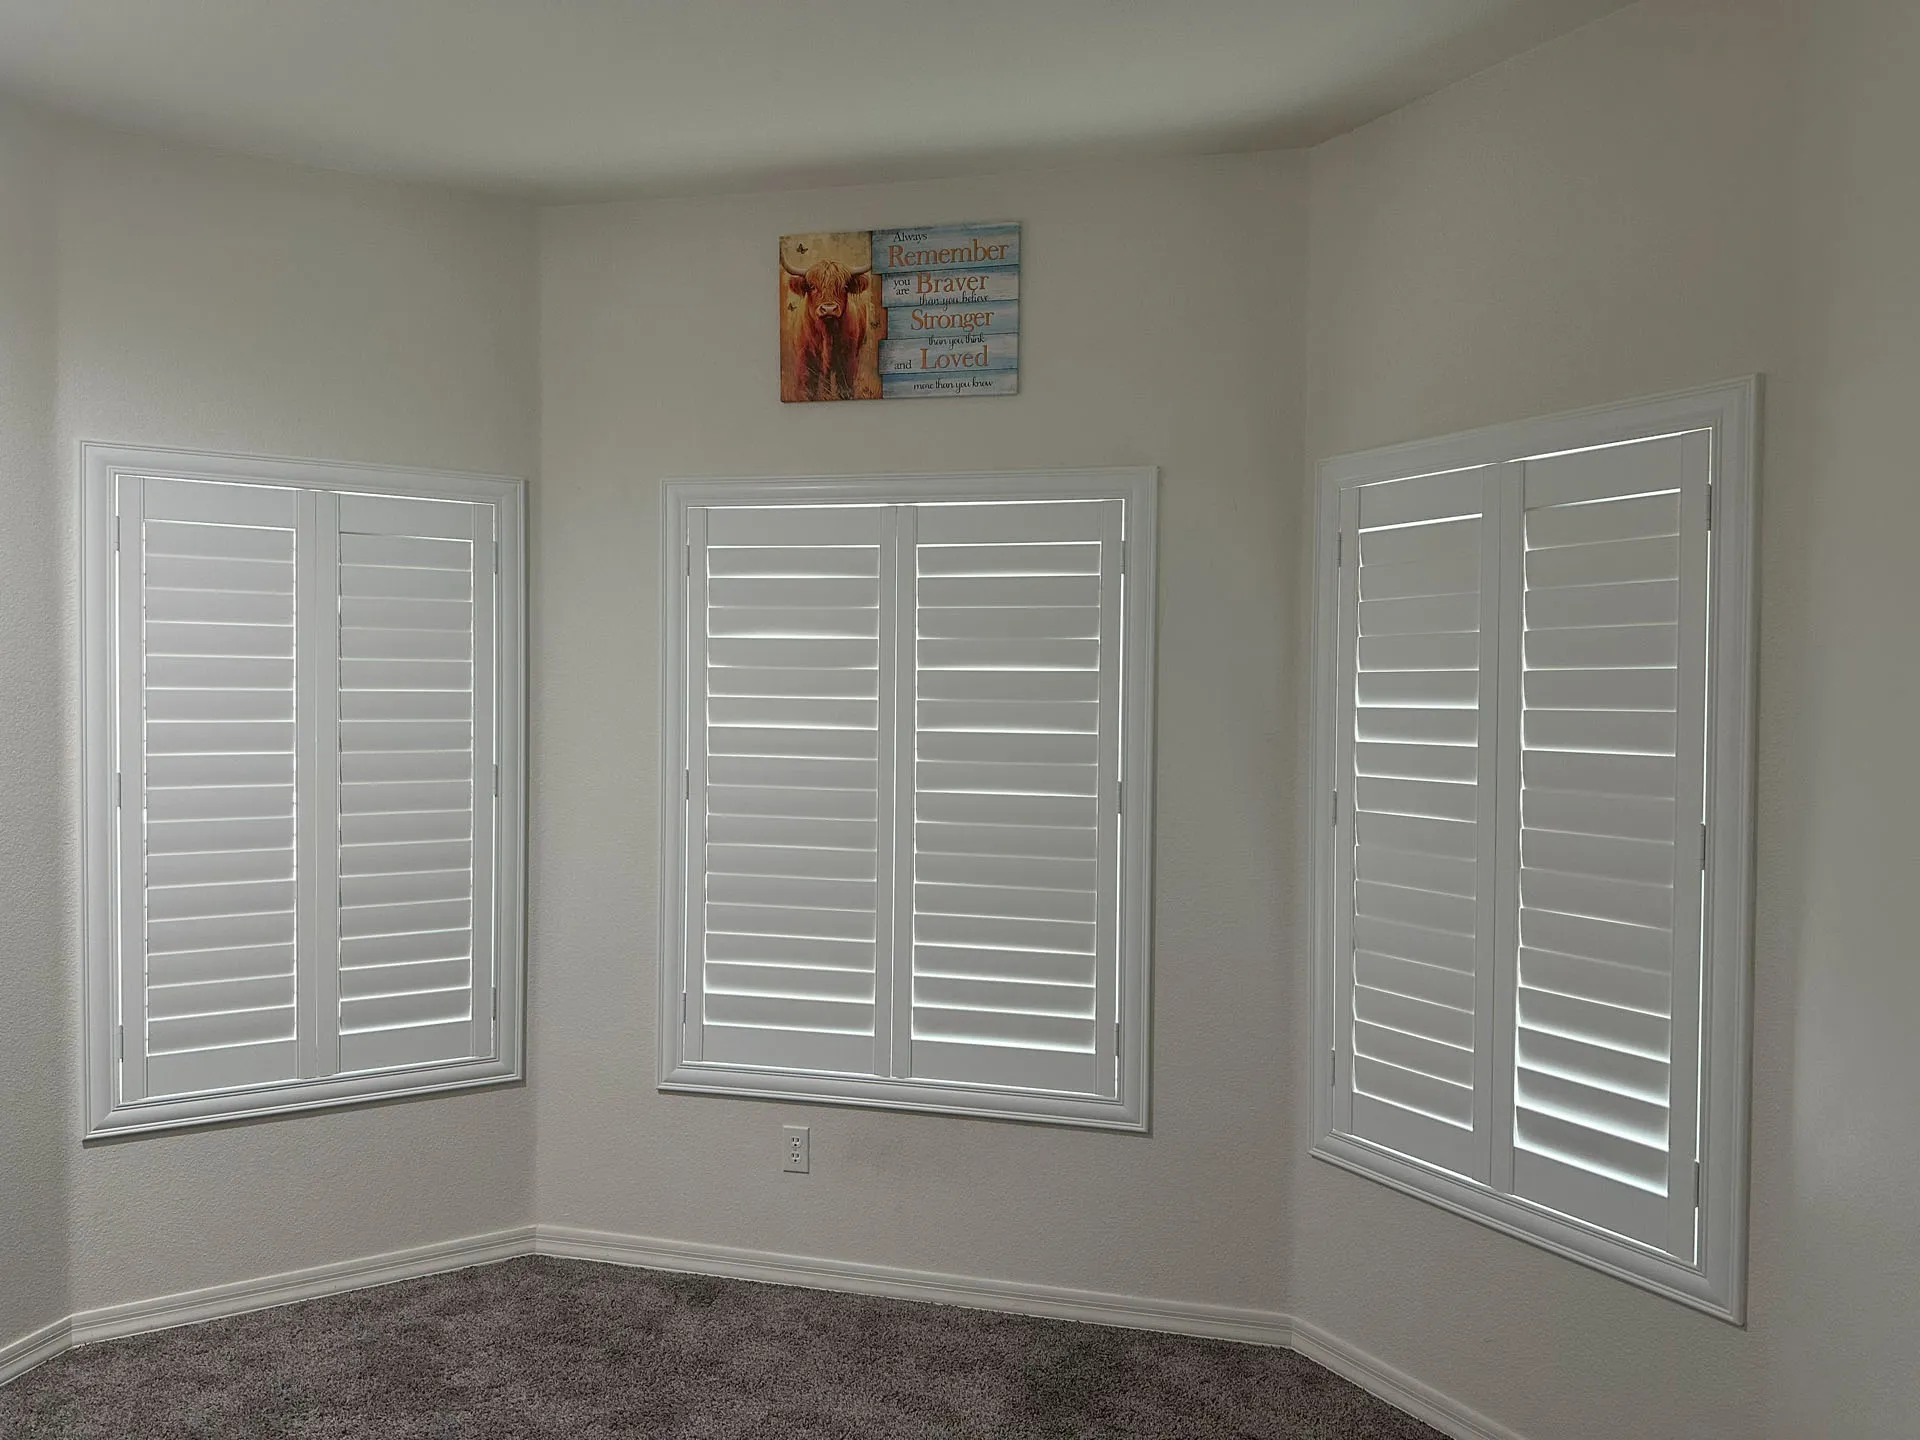
After 200+ successful installations across Laughlin, Bullhead City, Kingman, Lake Havasu, and Needles, I’ve refined our process to be efficient, respectful, and stress-free for homeowners. Here’s your complete guide to the PolyCel shutter installation experience.
Phase 1: Pre-Installation Consultation and Measurement
Your Free Consultation with Albert
What Happens During the Visit:
- Professional assessment of your windows and doors
- Discussion of your energy efficiency goals and budget
- Hands-on samples of PolyCel materials and colors
- Precise measurements using professional tools
- Detailed explanation of the installation process
- Written estimate with clear, honest pricing
Time Required: 45-90 minutes depending on home size
What to Prepare: Nothing! We bring everything needed
Customer Experience – The Davis Family
“Within 5 minutes of being in my home, Albert made me feel like I was family! He brought samples that I was able to place in window to see what the shutters would look like, as well as showing me different types of trim for the outside border of the shutters, he explained the whole process. I had my quote the very next day.”
Phase 2: Custom Manufacturing Process
From Measurement to Manufacturing
Manufacturing Timeline:
- Standard Windows: 4-5 weeks
- Custom Shapes: 5-6 weeks
- Large Projects: 6-8 weeks
- Rush Orders: Available for additional cost
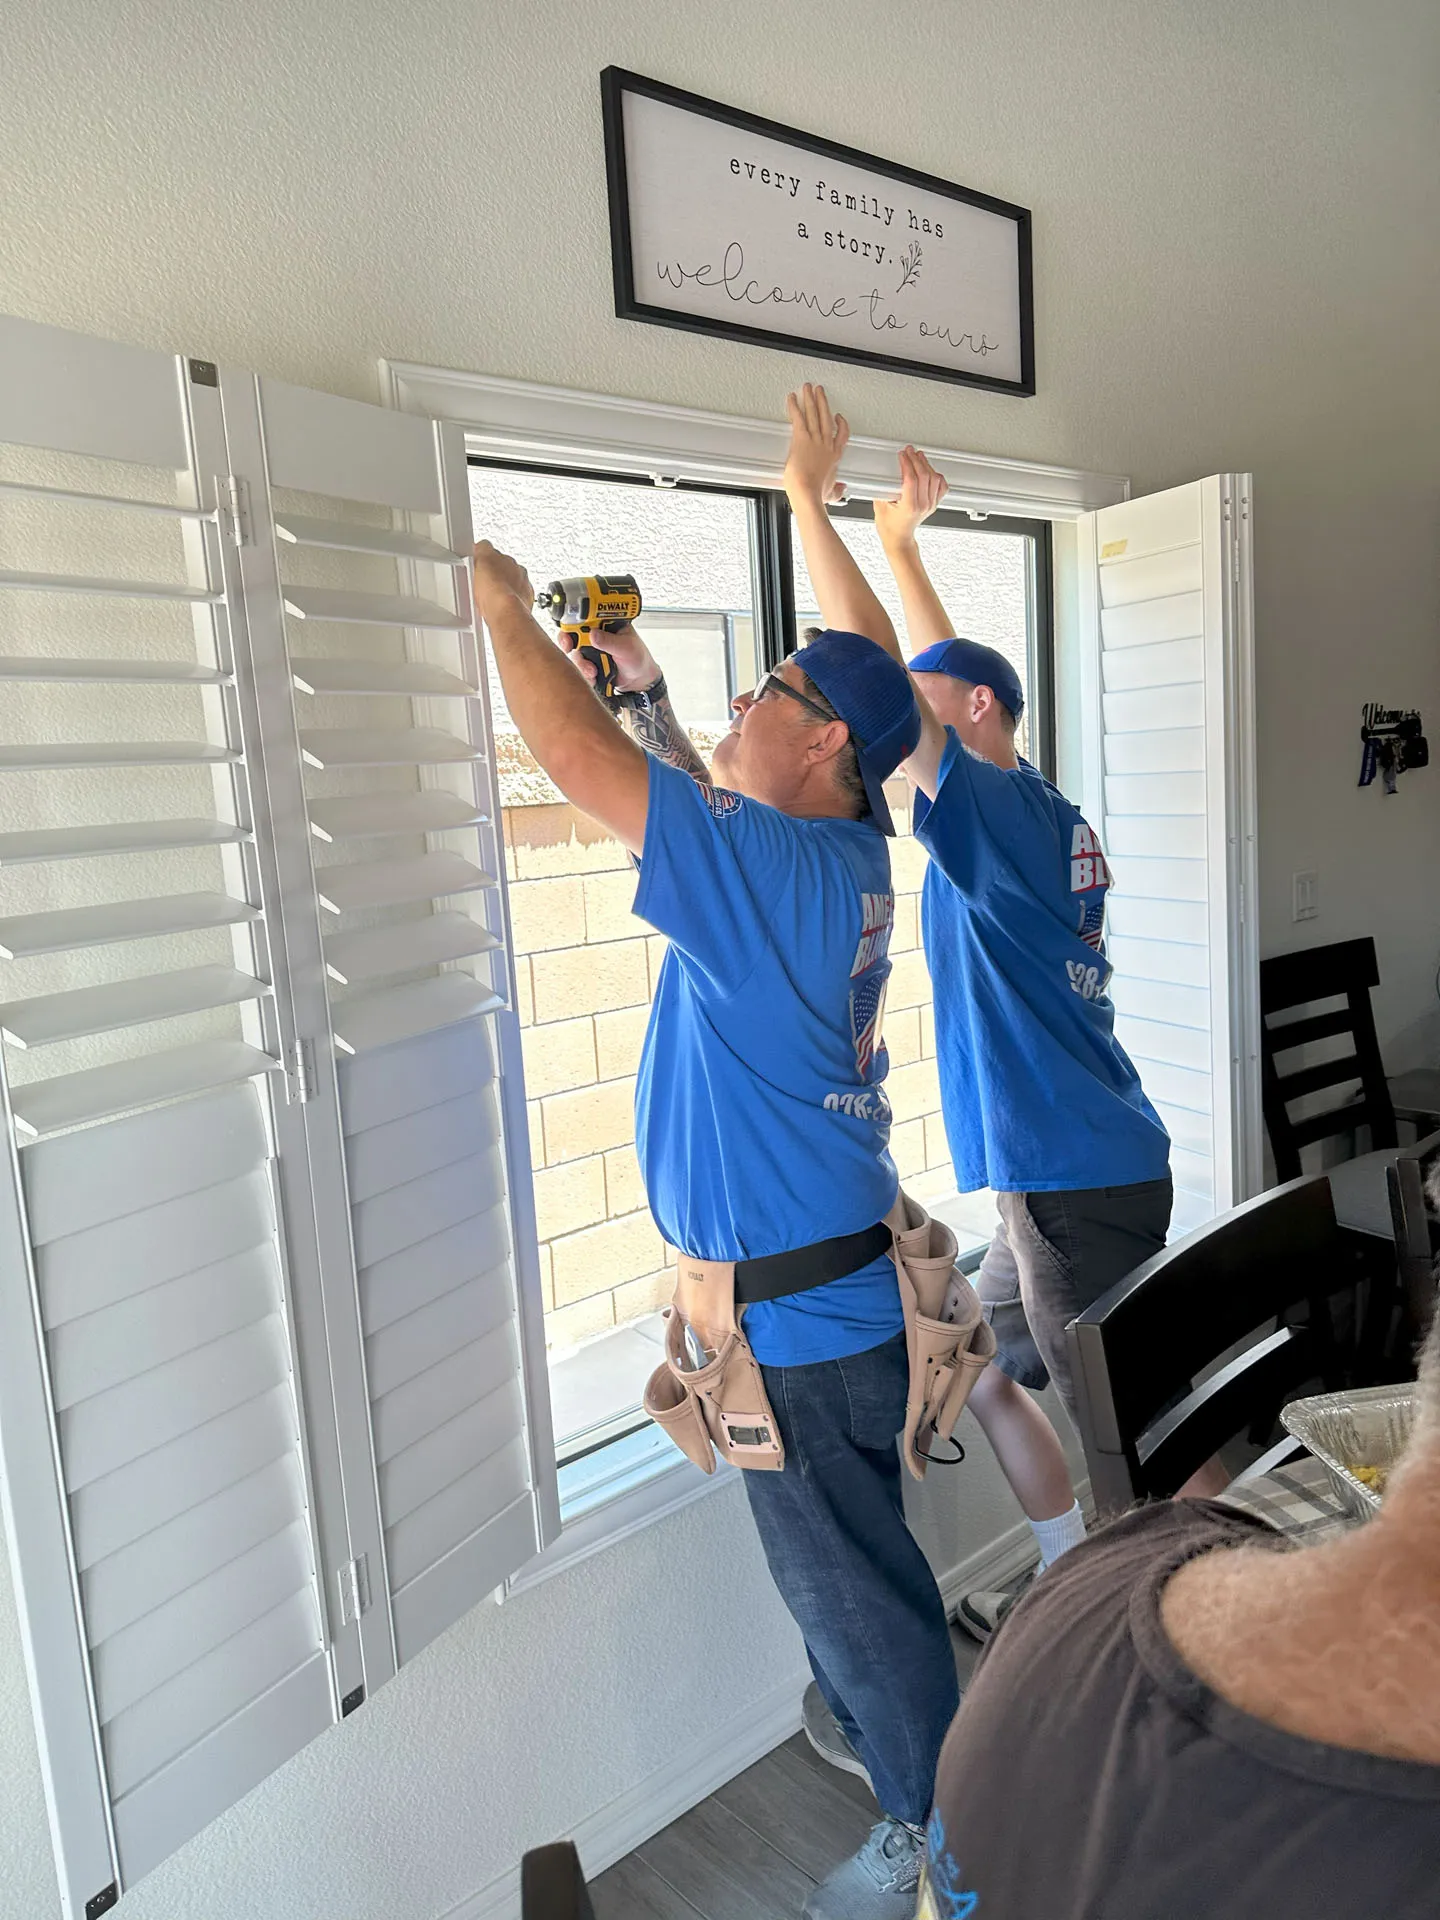
Phase 3: Professional Installation Process
Step-by-Step Installation Process
1. Arrival and Setup (15-30 minutes)
- Introduce team and review installation plan
- Protect floors and furniture with covers
- Unload and inspect all shutter components
- Set up tools and work area
2. Precision Installation (30-60 minutes per window)
- Verify measurements one final time
- Mark mounting points with laser precision
- Install mounting hardware with specialized fasteners
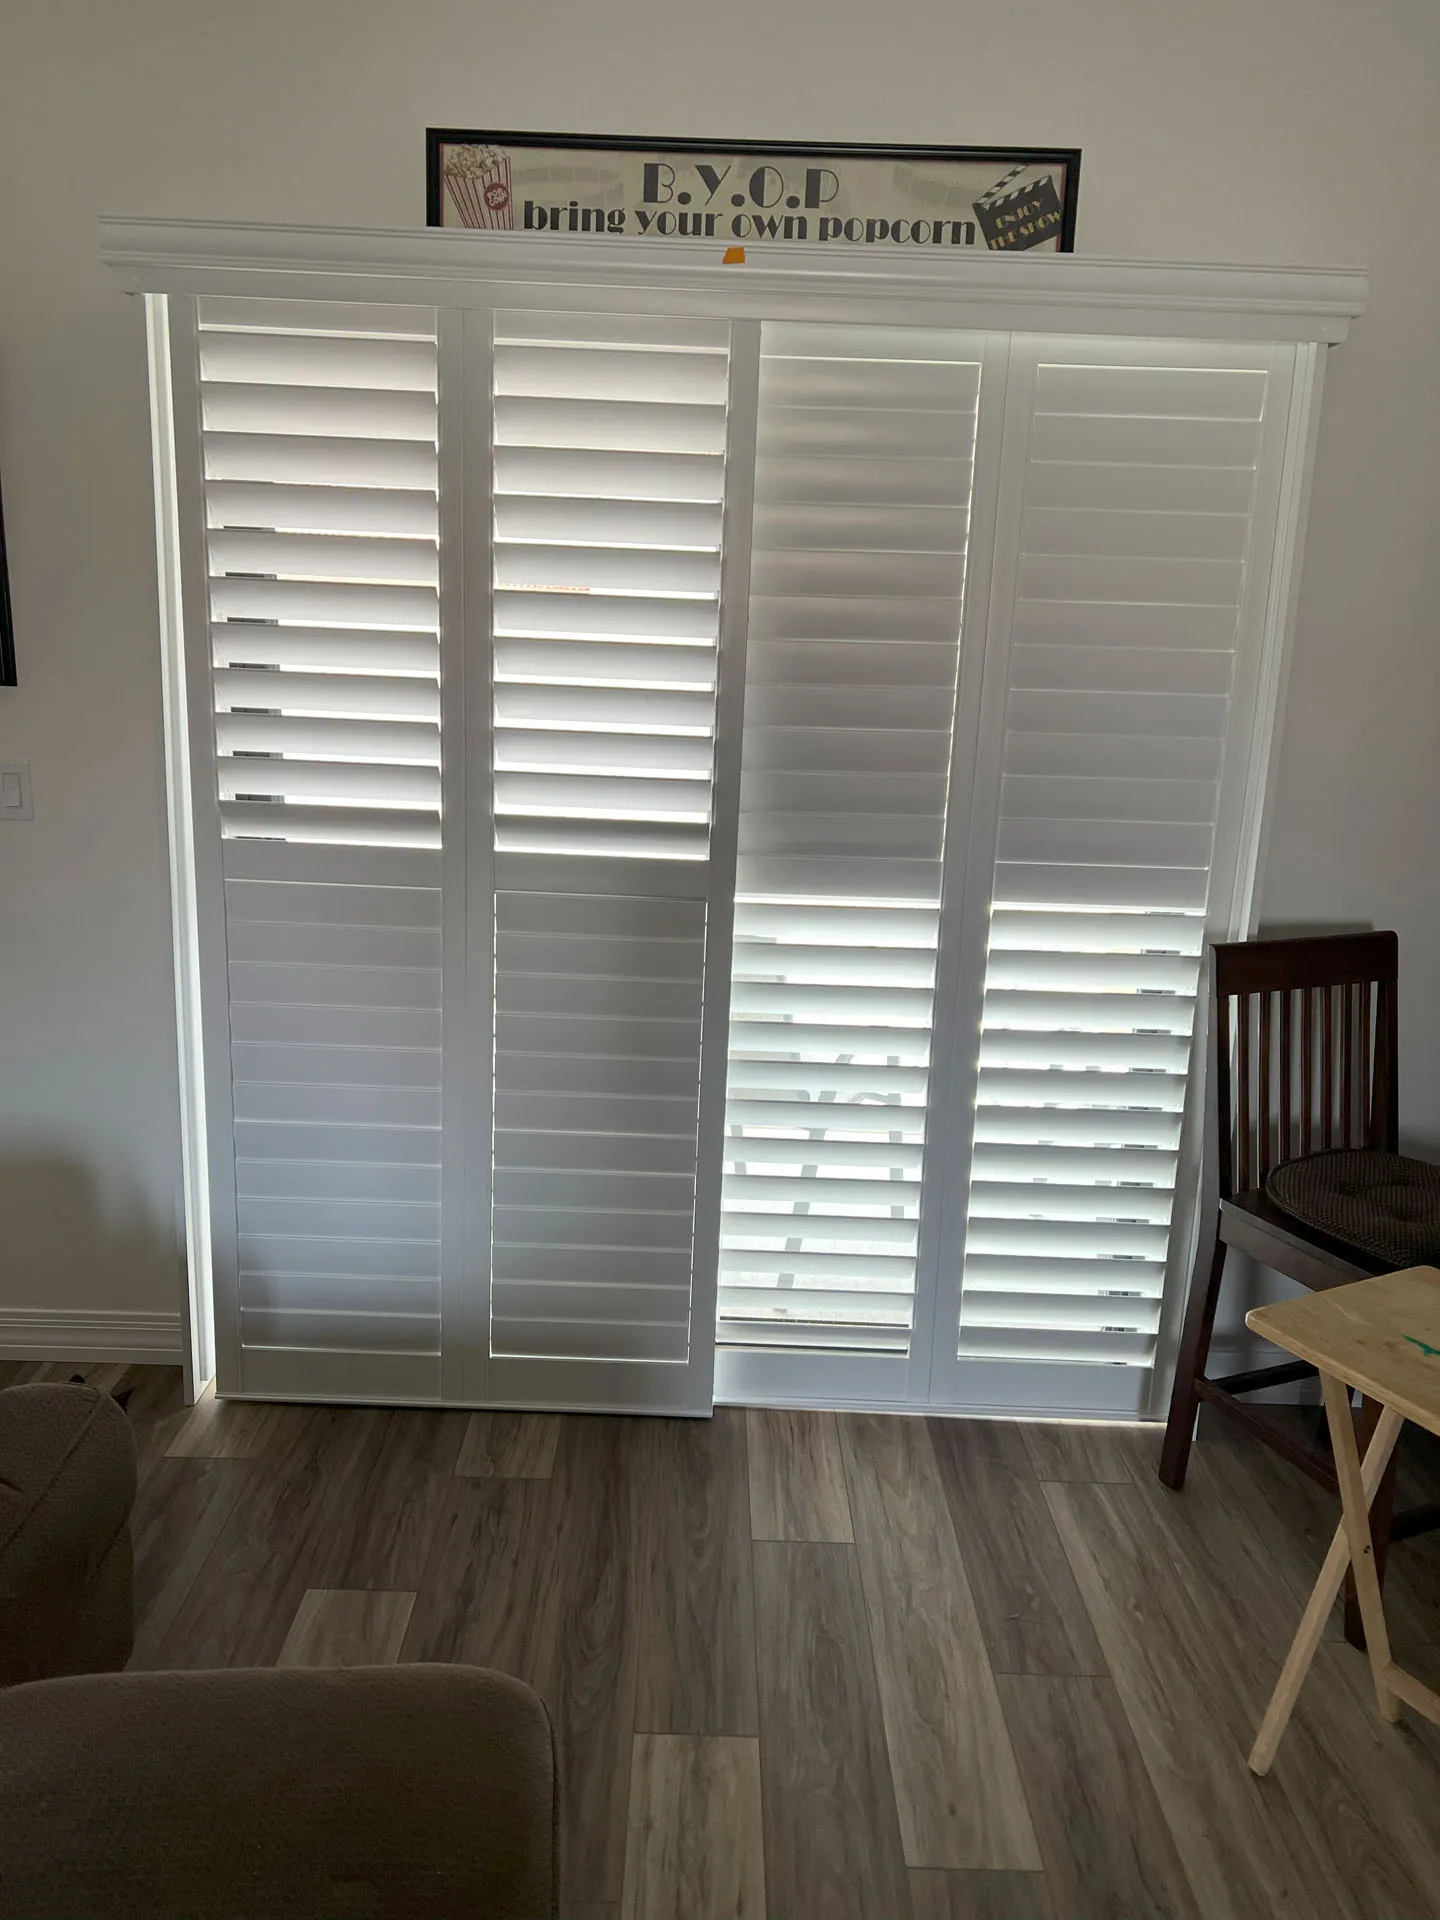
- Hang and adjust shutters for perfect operation
- Test all louver and panel movements
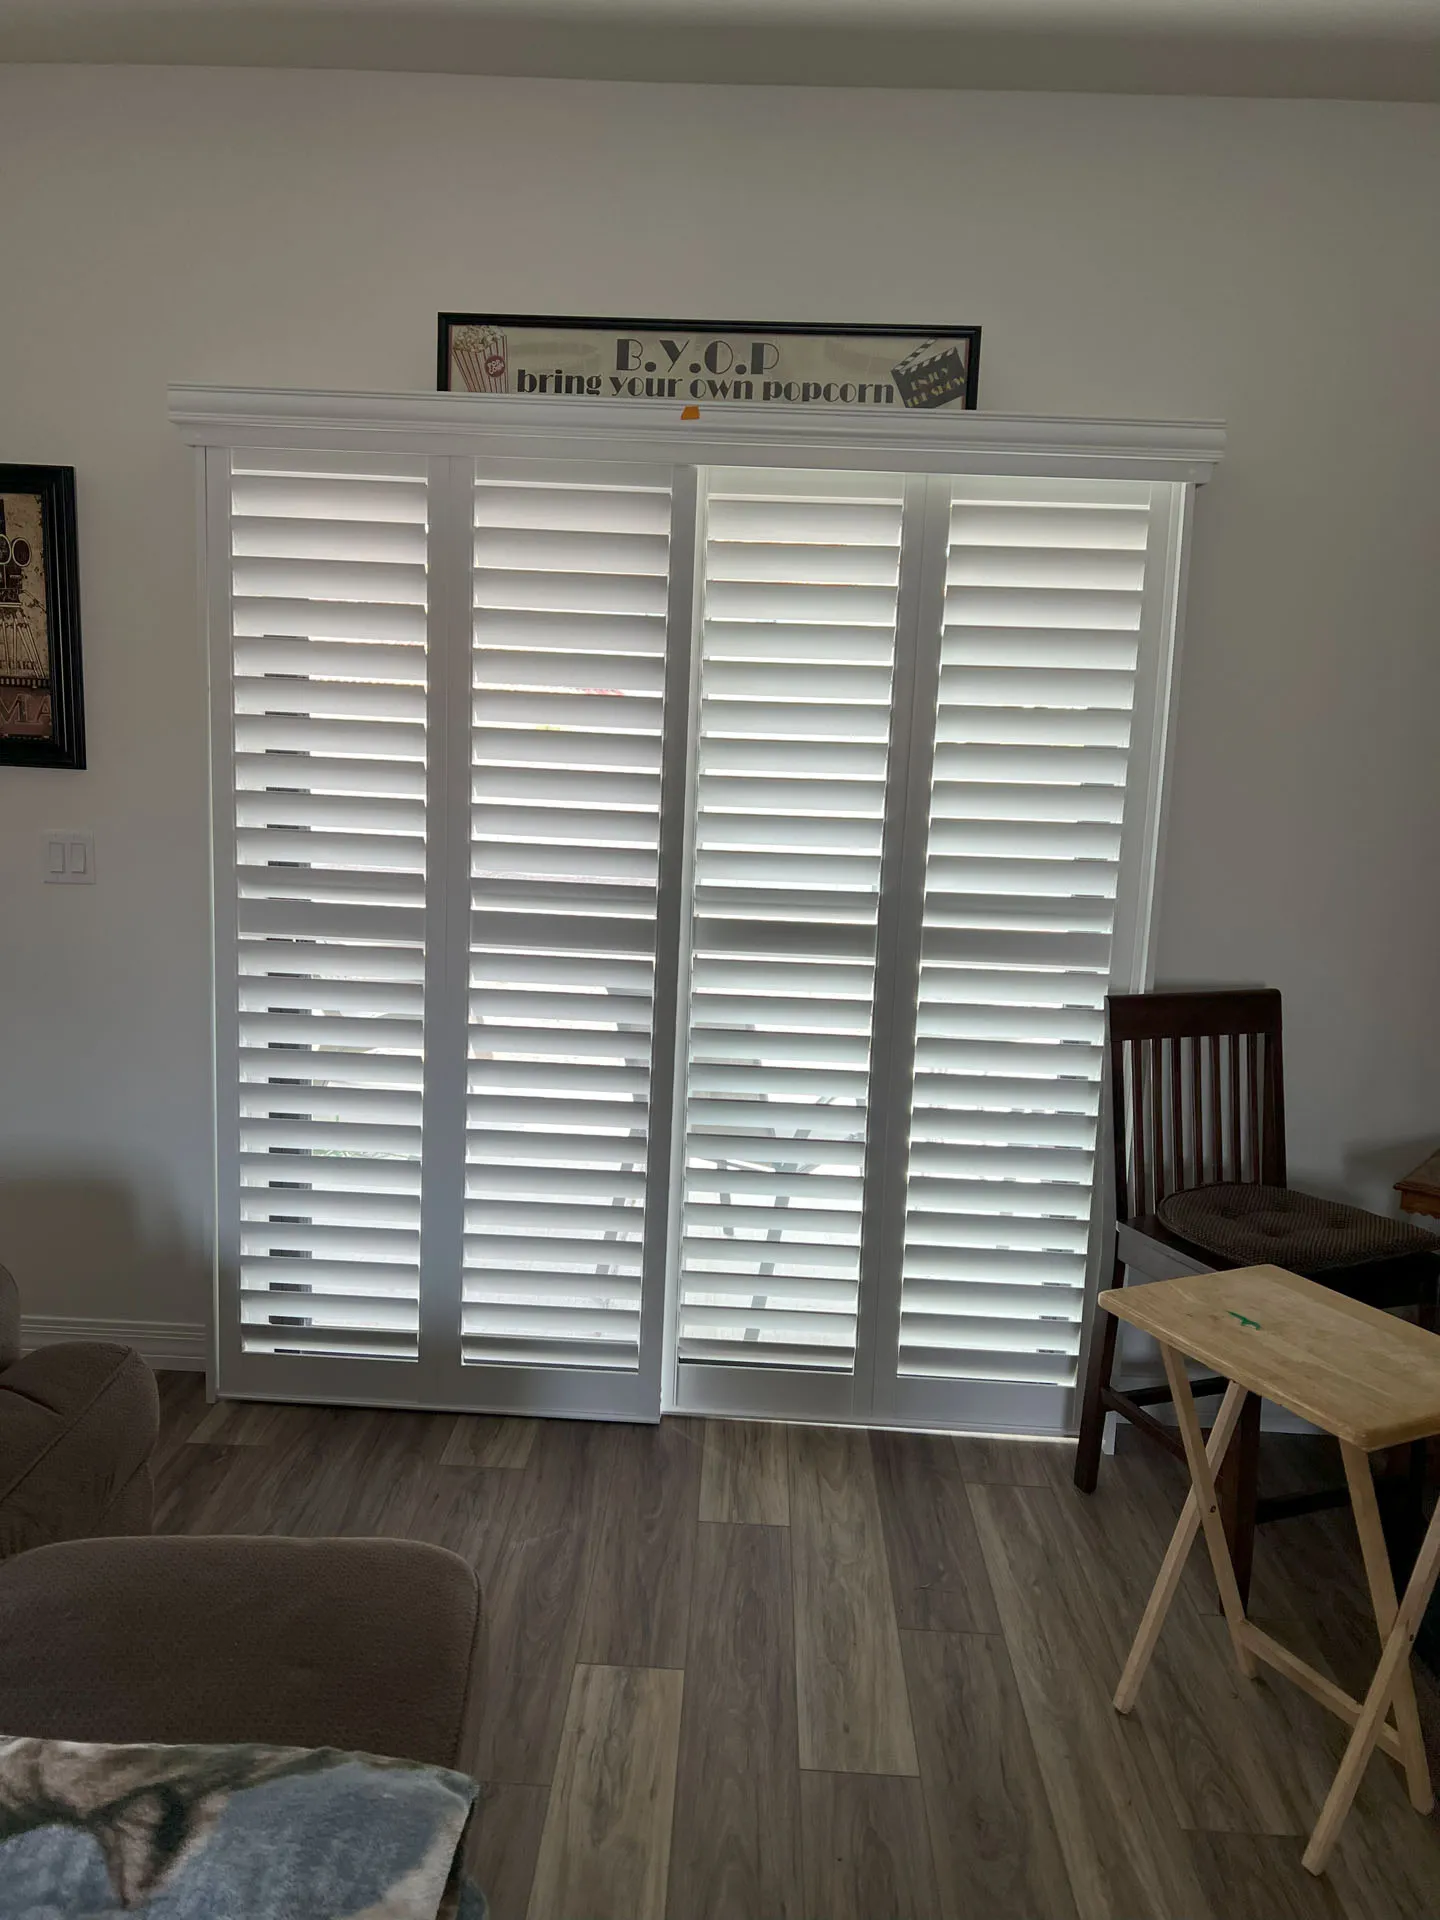
Customer Experience – Kathleen and Bill Dogendorf
“All of the paperwork and payment processing was accurate, the shutters fit perfectly — exactly as pictured and described — and the installation went smoothly. Albert is respectful, kind, honest, friendly, well-organized, dependable, and a real pleasure to work with.”
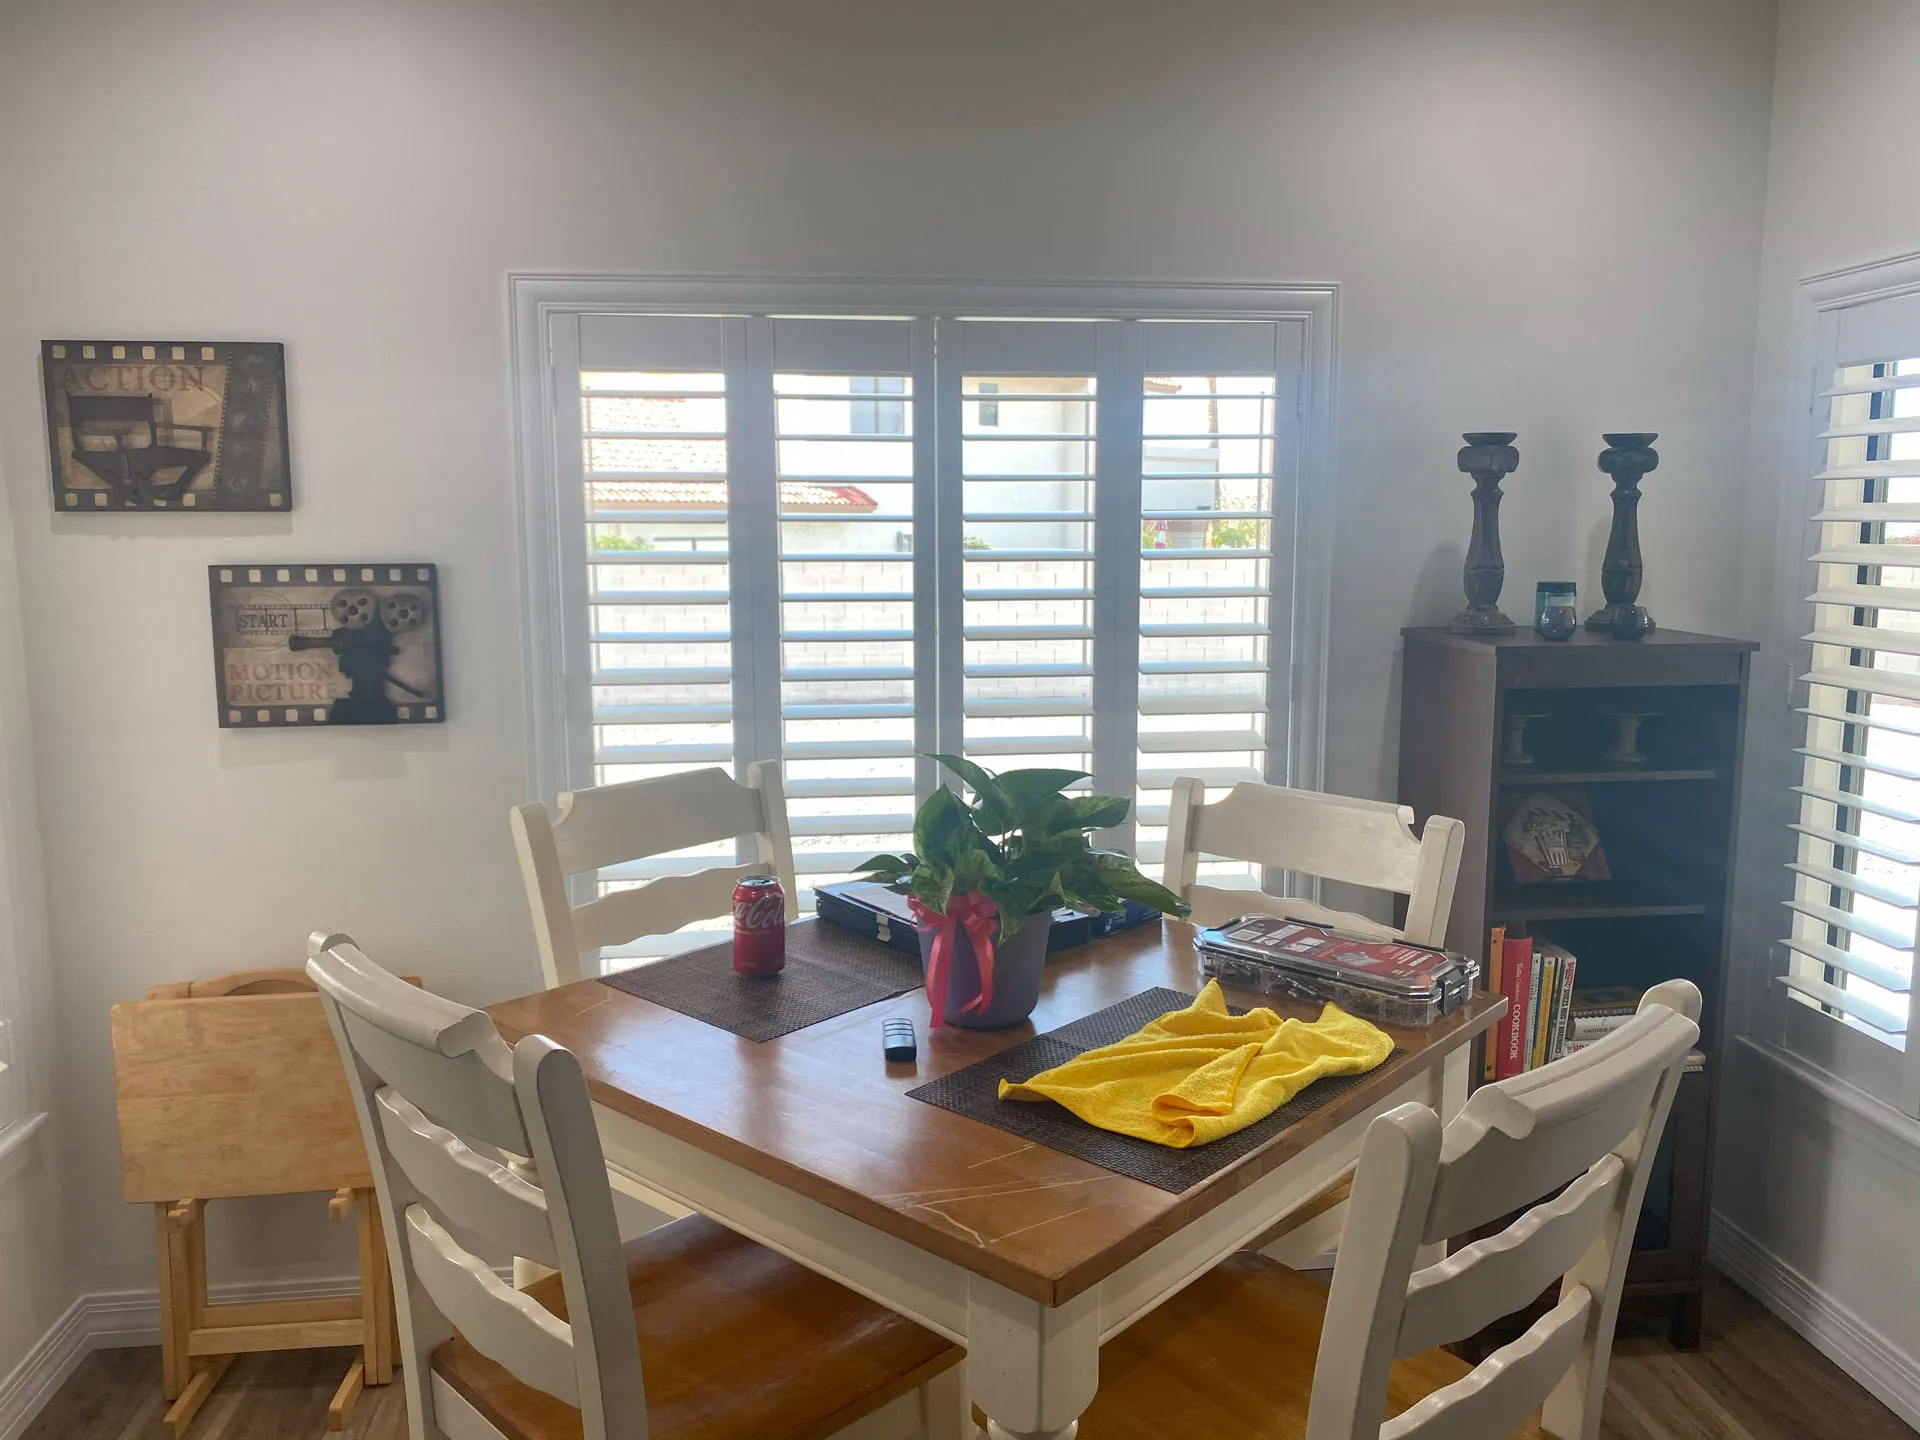
Ready to Get Started?
Now that you know exactly what to expect, why not take the first step toward energy savings and increased comfort? Our proven installation process has satisfied 200+ customers across the Tri-State area.
Schedule your free consultation today:
- Phone: (928) 296-4832
- Email: am*******************@***il.com
- Service Areas: Laughlin NV, Bullhead City AZ, Kingman AZ, Lake Havasu AZ